
All of our Kimonos come with a repair kit for rips, wear and tear.
This kit includes a patch of your kimono fabric and pre-waxed embroidery thread alongside Molly Martin's illustrated, Sashiko hand repair picture guide.
This method can be used anywhere on your kimono, on damages large or small; elbows or armpits. If a seam is present simply patch over the top from the inside. If you have any queries about the a particular repair please send photos to Olivia for advice - olivia@kimonomyhouse.co.uk
Instructions and illustrations are done by talented artists Molly Martin - Olivia visited her studio and to read the interview for the Kimono My... series click here.
If you would prefer for a repair to be done by Olivia, this can be done free of charge however you will need to cover the postage costs of the kimono. Here is an example of a recent repair on a Studio Kimono in Organic Cotton.

You will need :
- Embroidery thread - provided as part of your Sashiko kit
- Patching material (to match the fabric weight and weave) - provided as part of your Sashiko kit
- Cotton thread
- Pins
- A sharp needle
- Scissors / Snippers

1 - Front
Prepare the damaged kimono by cutting away any stray threads from the tear and press carefully with an iron.

2 - Back
Turn your kimono inside out and then cut a patch (at least 2cm bigger than the tear itself - the bigger the better) & pin onto the garment over the damage.

3 - Back
Using a contrasting colour cotton thread - tack the patch to the kimono with little stitches all the way around the edges (you will remove these later).

4- Front
Turn the garment the right way round again. Your tacking stitches should be visible and act as a guide to stitch within.

5- Front
With your chosen embroidery thread (either a matching colour or contrast) start sewing small stabbing stitches across the damaged area, back and forth like a lawn mower from one side to the other.
6- Front
Continue stitching over the damage. You want your stitches to be small and close together to reinforce the surrounding fabric and the tear.

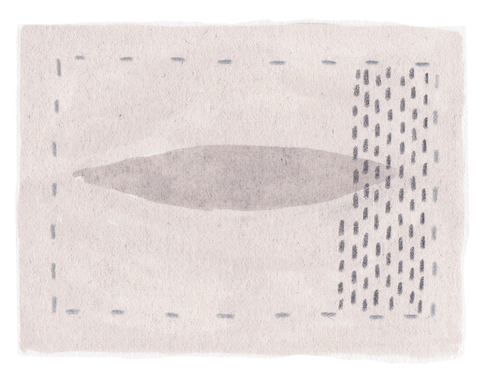
7- Front
Find your own rhythm and take your time, stitch by stitch all the way across to the end.

8- Front
Once you’ve completed your stitched rectangle, you can remove the tacking thread.

9 - Back
You should have a secure and reinforced repair that will last a long time! If another tear appears or you feel your kimono becoming thin, simply repeat the method to keep your kimono forever.